Reviewed October 16, 2026. This documentation-based walkthrough is for an owned or explicitly authorized Kioptrix training VM. It describes a proposed workflow, not a completed scan or a personal route to root. No sample result below is presented as output from a particular Kioptrix release.
Use Nmap to build a service inventory and decide what to verify next. Start with a confirmed lab address, save a TCP baseline, expand coverage when justified, then investigate selected services. An open port, version string or script result does not establish an exploitable vulnerability or guarantee privileged access.
What This Workflow Can Establish
A useful record answers four questions: which target was assessed, which protocol and ports were covered, what responses were observed, and what remains unknown. Keep these separate from hypotheses about vulnerable software. Different Kioptrix releases and network configurations can expose different services; do not use an expected port list as a substitute for your own evidence.
If you need the basic meanings of flags and output first, the Kali Nmap beginner guide provides that foundation. This walkthrough focuses on the decisions between scan stages and the limits of the conclusions.
Confirm the Target and Network Boundary
Record the image release and source, guest address, Kali interface and authorized scope. Check the VM console or a known lab DHCP record rather than assuming a familiar private IP belongs to Kioptrix. Private address space can overlap a VPN, office or home network.
A guest-only segment is useful when host access is unnecessary. Host-only includes the host, and NAT permits outbound connectivity; neither name proves complete isolation. Inspect every adapter, route and forwarding path. The platform comparison explains those boundaries and host/guest compatibility considerations.
Command convention: 192.0.2.10 below is a documentation example, not a discovered target. Replace it with the single confirmed, authorized lab address before use. Run commands from an existing writable evidence directory and choose a new output prefix for each run. These examples are not executed by this article.
Step 1: Save a Clearly Bounded TCP Baseline
This explicit TCP connect scan avoids requiring raw-packet privileges. It disables reverse DNS with -n, records state reasons and writes results under a descriptive prefix. It is active traffic and may be logged; it is not an invisible scan.
nmap -sT -n --reason -oA tcp-initial 192.0.2.10The port specification manual states that the default covers the most common 1,000 ports for the scanned protocol. This TCP run is not all TCP ports and says nothing about UDP. If broader TCP coverage is authorized and useful, -p- covers ports 1–65535; port zero requires explicit selection.
nmap -sT -n -p- --reason -oA tcp-all 192.0.2.10Nmap’s output documentation describes -oA: normal .nmap, XML .xml and grepable .gnmap output. Preserve XML for structured comparison. Record the full command, time, scanner version and any warnings alongside the files; a reused filename can overwrite evidence.
Step 2: Investigate “Host Seems Down” Before Expanding Traffic
Check the address, boot state, network attachment and route first. Nmap host discovery is not limited to an ICMP echo ping; on local Ethernet it normally uses ARP. The discovery manual explains that -Pn skips the discovery decision and attempts the requested scan for each specified address. Local-link address resolution can still occur.
nmap -sT -n -Pn --reason -oA tcp-no-discovery 192.0.2.10Use that follow-up only for the confirmed target. It does not bypass a firewall, repair a wrong route or prove reachability. Avoid turning a single-host diagnosis into a subnet-wide -Pn run. If results remain inconclusive, retain the error and inspect the path rather than cycling through unrelated flags.
The scan technique reference distinguishes connect scanning from raw-packet SYN scanning. On Kali, SYN and UDP scans require suitable privileges. SYN scans remain detectable. Timing templates change scheduling assumptions; no template guarantees a fragile VM will tolerate the traffic or finish in a stated time.
Step 3: Probe Selected Services and Review Scripts
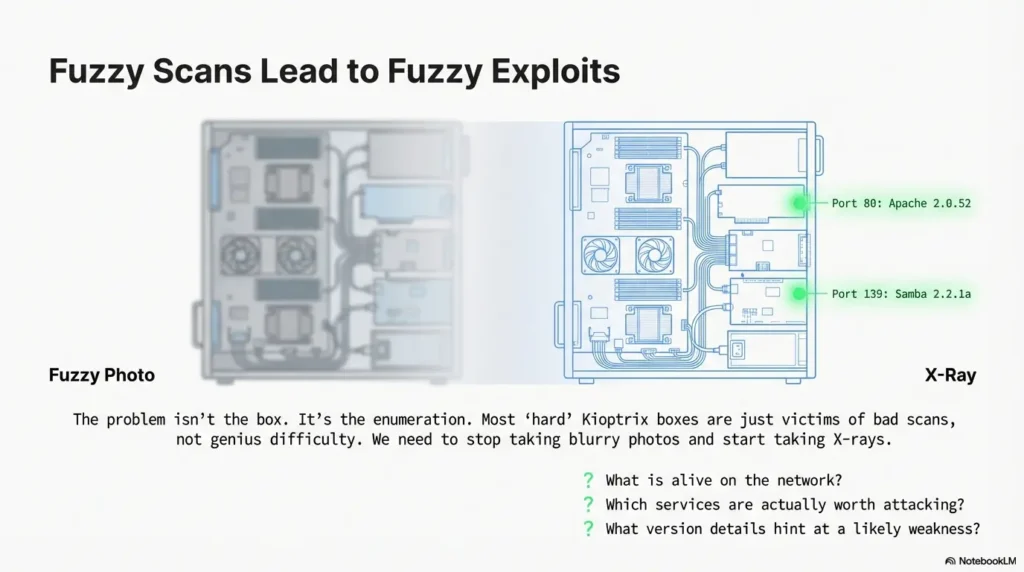
After identifying candidate ports, request version detection only where the next question calls for it. The following port list is hypothetical: replace it with the actual observed ports and permitted scope. It does not assert that every Kioptrix VM exposes SSH or web services.
nmap -sT -n -sV -p 22,80,443 -oA services-selected 192.0.2.10The version detection guide describes active service probes. A port-number label alone is not confirmation of the protocol. --version-all tries all version probes and can add traffic; it is a follow-up choice, not a mandatory baseline. Banners can be incomplete or misleading, and distributor patches may not change the upstream version label.
NSE scripts need a separate decision. The NSE reference notes that some default scripts selected by -sC are intrusive. Review the chosen scripts, arguments and target scope rather than treating “default” or a category name as a blanket safety guarantee.
nmap --script-help http-titleThat help command displays script documentation rather than scanning a target. The http-title documentation describes retrieving a web page title. A title can identify a page to inspect; it does not prove authentication bypass, vulnerable software or a path to root. Check request and redirect behavior before approving a script for an exercise.
OS detection is also a separate probe. The OS detection manual explains that accuracy depends on conditions, including useful open and closed TCP ports. Preserve uncertainty and reported matches instead of converting a fingerprint guess into a verified OS inventory.
Step 4: Add UDP with Explicit Coverage Limits
A limited UDP sample can answer whether selected common UDP services deserve follow-up. It cannot establish that all UDP services were assessed. This proposed command uses a small frequency-based sample, not a Kioptrix-specific list.
sudo nmap -sU -n --top-ports 20 --reason -oA udp-sample 192.0.2.10UDP replies, missing replies and ICMP errors need different interpretations. In particular, open|filtered is inconclusive. Follow up only where an appropriate, authorized service probe can answer the question. Rate limiting and retransmissions can affect duration; do not promise a fixed number of minutes or start competing tests if they make results harder to interpret.
Step 5: Compare Equivalent Runs
Nmap’s Ndiff utility compares XML scan output. Use your own previously saved files with equivalent targets, ports, options and vantage point. The filenames below are placeholders for those existing outputs.
ndiff before.xml after.xmlA changed port state may reflect a service restart, firewall behavior, packet loss or a different path. A new open port does not establish a privilege-escalation route. Record what changed between runs, then verify the relevant service independently. Do not modify the target simply to make a comparison look interesting.
Step 6: Make the Workflow Repeatable Before Automating
Start with one manually reviewed target and predictable filenames. If you later build a wrapper, use an explicit approved target list, bounded concurrency, visible commands and preserved errors. Keep script selection and heavier follow-ups deliberate. Automatically discovering hosts should not silently authorize scanning every discovered address.
A wrapper can reduce repetitive typing, but this guide has no measured hours-saved result. Verify that it handles an empty target list, failed runs and existing output files correctly before relying on it. No scan wrapper, scheduled job or background scan is created here.
Step 7: Turn Observations into Testable Questions
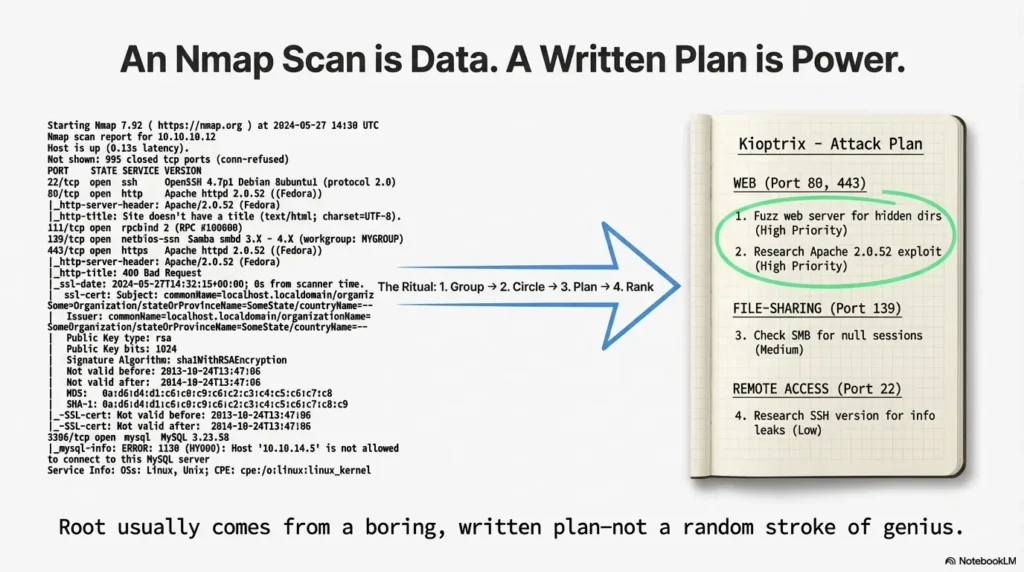
| Observation | Supported conclusion | Next question |
|---|---|---|
| TCP port reported open | A listener responded from this vantage point. | Which application and intended access are present? |
| Version string reported | A service probe matched that identification. | Does the actual build and configuration meet an advisory’s conditions? |
| UDP open|filtered | The scan did not resolve open versus filtered. | Can an authorized protocol check reduce uncertainty? |
| Different result after a reset | The observations differ. | Were target state, options and network path equivalent? |
The port-state reference emphasizes that states describe the scanner’s observation. An open port is not itself a vulnerability; a filtered result is not proof of a particular firewall rule. For a suspected issue, record the advisory, affected build and required configuration, then distinguish verified conditions from assumptions.
Plan Study Time from Your Own Measurements
Use measured durations to budget sequential work without pretending to predict a future scan. Hypothetical example: three initial scans averaging 5 minutes plus two follow-ups averaging 25 minutes total 3 × 5 + 2 × 25 = 65 minutes. This excludes setup, review and retries, and assumes sequential execution. Different targets or conditions can change the duration.
Home-lab practice is not a penetration-testing quote or a guarantee of billable skill. Training, hardware and professional assessment have different purposes and scopes. A consultant day-rate table does not help decide the next scan here, so no unverified market prices or study-hour requirements are supplied.
A Practical Decision Sequence
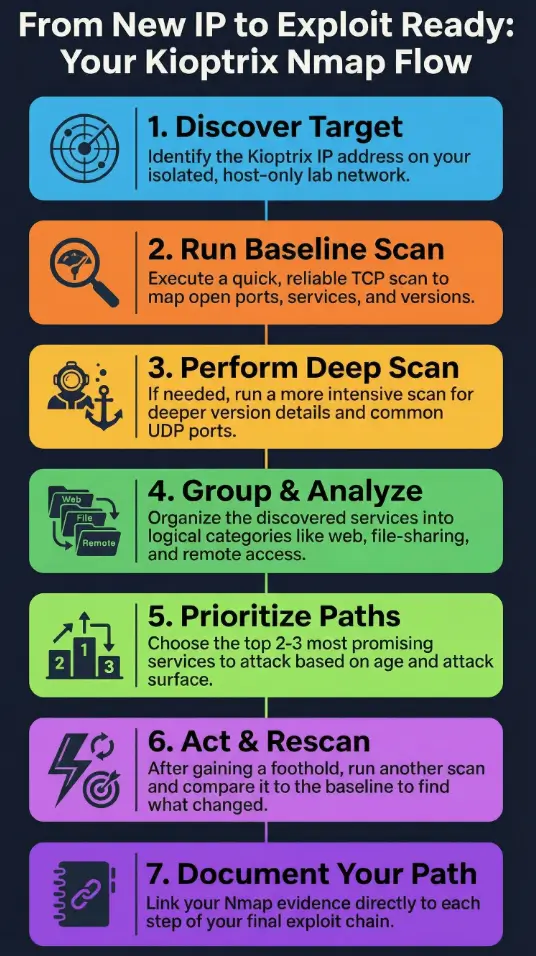
Confirm scope and target → establish bounded TCP coverage → investigate selected services → add justified protocol or script checks → compare equivalent evidence → document the next unanswered question. Stop or adjust when the task is answered, the target becomes unstable or the next action falls outside scope. “Ready for exploit” is not a state Nmap can certify.
FAQ
Does -Pn Make a Scan Stealthy?
No. It changes host discovery handling. It neither hides the scan nor bypasses filtering.
Does -sC Make the Baseline More Reliable?
It adds a selected set of scripts, which changes the work and traffic. Review each needed check; more output is not automatically better evidence.
How Long Should a Good Scan Take?
There is no universal time target. Record scope, conditions, duration and completion status. A quick incomplete run is not a better result than a justified longer one.
Does an Old Version Mean an Exploit Will Work?
No. Verify the affected build, configuration and other prerequisites. Keep the finding provisional until the required evidence exists.
Next Session: Save One Defensible Scan Record
This local checklist does not inspect your lab, save data or certify authorization. Use it to review your own evidence before selecting another action.
The aim is a repeatable record another reader can understand: what was tested, what responded and what remains uncertain. That is useful progress even when no exploit or privileged access follows.