
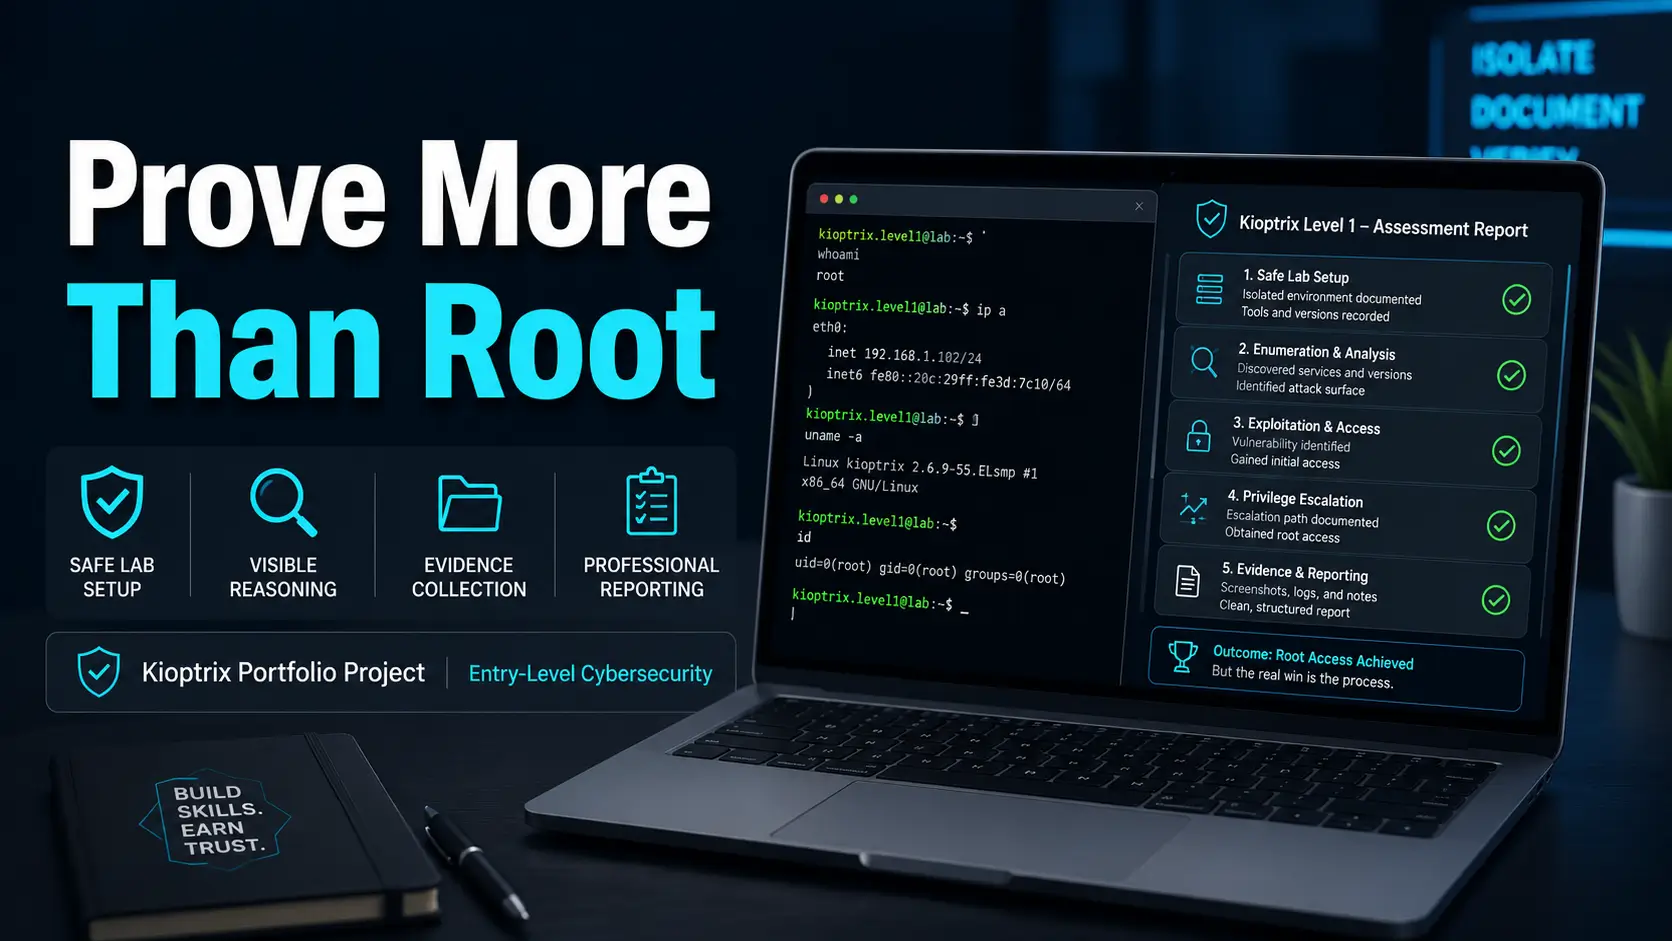
Entry-Level Cybersecurity Portfolio Guide
Kioptrix Portfolio Project
That Proves More Than Root
Gaining administrative access to Kioptrix can feel like the final bell of a small technical victory. For a hiring manager, however, the shell is only one note in a longer piece. The stronger signal is whether you can define scope, investigate uncertainty, preserve evidence, explain impact, and recommend a sensible fix.
This guide shows you how to turn a beginner-friendly vulnerable machine into a credible penetration-testing portfolio project without publishing an irresponsible attack recipe. You will build something closer to a compact professional assessment: organized, defensible, readable, and safe to share.
You do not need expensive lab hardware or a museum of paid tools. You need a controlled environment, patient reasoning, selective screenshots, and a report that answers the question employers quietly ask: “Can this person be trusted with technical work that affects real systems?”
Build safely
Isolate the lab, confirm the target, and document authorization before scanning.
Think visibly
Show why you investigated a service, not merely which tool produced output.
Report professionally
Connect evidence to impact, remediation, and a clear retest plan.
The goal is not to look dangerous. It is to look dependable. 🔐
Snapshot
Who it is for: Entry-level penetration testers, SOC analyst candidates, security interns, and career changers. What it solves: The common problem of a Kioptrix write-up reading like a command diary. What you will do next: Build a redacted project package containing scope, evidence, findings, remediation, diagrams, and a recruiter-friendly README.
Table of Contents
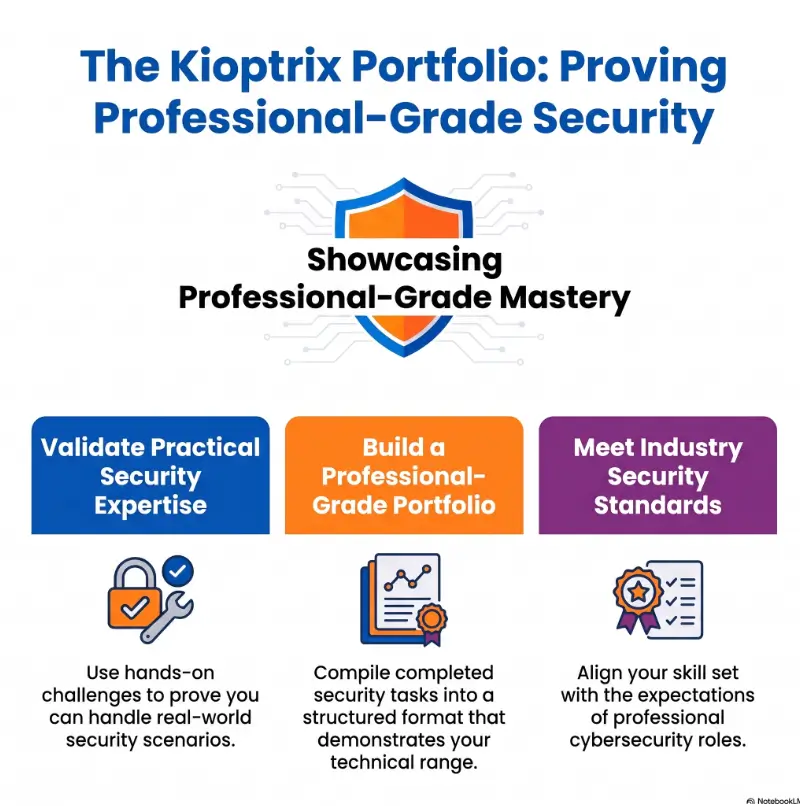
Before You Act: Keep the Lab Legal, Isolated, and Boring
Kioptrix is intentionally vulnerable, but that does not turn every nearby device into a practice target. Run the project only inside an isolated environment that you own or are explicitly authorized to test.
This article helps you structure a portfolio assessment. It does not authorize testing, replace formal rules of engagement, or guarantee that a particular tool, exploit, or virtual-machine configuration will behave safely. Confirm your network mode, target address, and scope before sending security traffic.
Before You Act
Use a host-only or internal virtual network. Disable unintended bridging. Verify that the target IP belongs to the Kioptrix VM. Stop immediately if results appear to come from your router, host computer, workplace, school, cloud account, or another device.
Write a one-sentence scope before opening a tool
A small scope statement creates a bright line between authorized practice and accidental wandering. It also gives your portfolio project a professional beginning.
A suitable version might read: “This assessment covers one locally hosted Kioptrix virtual machine on an isolated virtual network, using one Kali Linux testing VM, for educational portfolio development.”
Define stop conditions before something looks strange
- The discovered address does not match the expected virtual network range.
- The target fingerprint resembles your router, host operating system, or another personal device.
- Security traffic leaves the isolated adapter.
- The VM becomes unstable and you cannot distinguish lab behavior from host impact.
- You are tempted to “try the same thing” on a public system.
These boundaries are not decorative legal padding. They demonstrate judgment, which is often more valuable in an entry-level applicant than memorizing one more switch.
Build the Lab Without Testing the Wrong Machine
A good Kioptrix lab should be dull in the best possible way. Two virtual machines, one isolated network, documented settings, and a snapshot you can restore when the target falls over dramatically.
Use a small, visible lab architecture
Your diagram does not need glowing arrows or a cinematic skull. A simple box-and-line layout is more useful:
- Testing VM: Kali Linux or another authorized security-testing distribution.
- Target VM: The selected Kioptrix machine.
- Virtual network: Host-only or internal networking, with no unnecessary route to the public internet.
- Evidence location: A folder on the host or testing VM with controlled backups.
Readers who are new to virtualization can use the site’s Kioptrix beginner lab guide and Kioptrix network setup guide to prepare the environment before beginning the portfolio work.
Record settings before the assessment
| Item | What to record | Why it matters |
|---|---|---|
| Hypervisor | Name and version | Helps explain compatibility or import issues |
| Testing VM | Operating system and tool versions | Makes results easier to reproduce |
| Target VM | Kioptrix level and source | Prevents ambiguity about the assessed machine |
| Network mode | Host-only or internal adapter name | Shows that isolation was intentional |
| IP range | Expected private subnet | Helps verify discovered hosts |
| Snapshot | Name and creation time | Supports clean recovery and retesting |
Free setup or paid equipment: what is actually worth it?
Most beginners do not need a dedicated server, premium scanner, or elaborate home network. Paid equipment becomes useful when hardware limits prevent stable virtualization or when you are intentionally expanding into multi-host networking.
| Setup | What it includes | Best for | Watch out for |
|---|---|---|---|
| Good | Existing computer, free hypervisor, two VMs | First complete portfolio assessment | Limited memory and storage |
| Better | More RAM, SSD storage, organized backup drive | Several local labs and smoother snapshots | Buying upgrades before confirming the bottleneck |
| Best | Dedicated lab host with segmented networking | Multi-machine practice and advanced home labs | Complexity that distracts from reporting skills |
Key Takeaway
The best beginner lab is the least expensive setup that runs reliably, stays isolated, and lets you finish the report. A silent half-written project on premium hardware is still half-written.
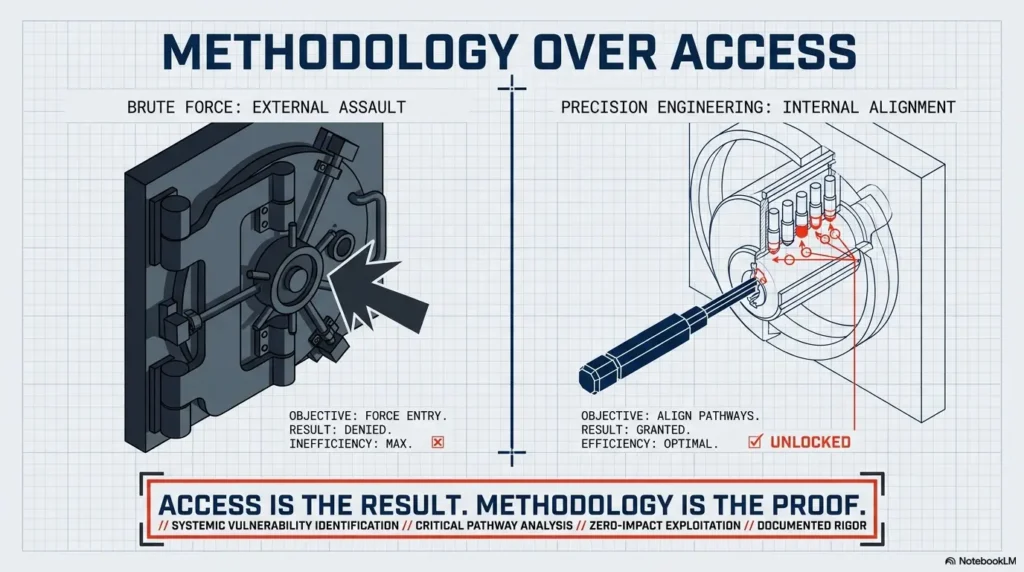
Your Portfolio Starts Before the First Scan
Beginners often begin recording after they find something interesting. By then, the first decisions, failed assumptions, and useful timestamps have already evaporated. Start documenting while the room is still quiet.
Create miniature rules of engagement
Your rules can fit on one page. Include the objective, allowed target, permitted testing window, prohibited actions, evidence-handling plan, and stop conditions.
This is not corporate costume jewelry. It trains you to think about permission, operational impact, and communication before technical activity begins.
Use a folder structure that separates raw work from public work
kioptrix-portfolio/ ├── 01-scope/ ├── 02-notes/ ├── 03-scans/ ├── 04-evidence/ ├── 05-findings/ ├── 06-report/ └── 07-sanitized-public/
Raw terminal output belongs in the scans folder. Cropped, captioned images belong in evidence. The version suitable for GitHub belongs in sanitized-public. Keeping those worlds apart reduces the chance of publishing credentials, hashes, local usernames, host paths, or unrelated personal details.
The Kioptrix note-taking workflow and evidence-tracking guide provide additional ways to organize longer sessions.
Separate observation, hypothesis, and proof
| Label | Meaning | Example |
|---|---|---|
| Observation | Something directly visible in output or behavior | A web service responds on an identified port |
| Hypothesis | A possible explanation that needs testing | The service may be running outdated software |
| Proof | Validated evidence supporting a finding | Version evidence and controlled validation confirm impact |
This simple labeling habit prevents one of the most common portfolio errors: presenting scanner guesses as confirmed vulnerabilities.
The Five-Stage Portfolio Workflow
1. Scope
Define the authorized target and stop conditions.
2. Discover
Identify the host and inventory exposed services.
3. Validate
Test plausible issues under controlled conditions.
4. Evidence
Preserve output, screenshots, timestamps, and context.
5. Report
Explain impact, remediation, priority, and retesting.
Discovery and Enumeration That Show Actual Reasoning
A scanner can produce a handsome wall of text in seconds. Your portfolio value comes from interpreting that text without treating it as an oracle.
Explain how you identified the target
Record the expected subnet, the method used to identify active hosts, the candidate address, and the evidence that the address belongs to Kioptrix rather than another device.
Do not publish a mystery screenshot with a highlighted IP address and expect the reader to infer the logic. Add a caption explaining what was checked and why the result was considered trustworthy.
Build a service inventory before searching for exploits
| Service area | Questions to answer | Portfolio evidence |
|---|---|---|
| Web | What protocols, titles, headers, pages, and server clues are visible? | Service output, browser capture, header notes |
| File sharing | What protocol is exposed, and what access is actually confirmed? | Negotiation results and access status |
| Remote administration | Is a login surface exposed, and what version evidence is reliable? | Banner data and connection behavior |
| Database | Is the service remotely reachable, filtered, or locally bound? | Reachability evidence and confidence note |
| Operating system clues | Which clues agree, and which may be guesses? | Correlated evidence from several sources |
A service inventory keeps you from sprinting toward the first famous vulnerability associated with one banner. It also makes your later findings easier to trace back to the original evidence.
Translate open ports into investigation priorities
For each service, write a one-line priority statement. A useful statement connects exposure, possible impact, and uncertainty.
- High priority: Externally reachable legacy service with specific version clues and a plausible path to code execution or sensitive access.
- Medium priority: Reachable service with incomplete version evidence or lower-impact exposure.
- Low priority: Service that appears filtered, informational, or unlikely to support the project objective.
If you need a deeper practice routine, the Kioptrix enumeration guide and reconnaissance mistakes guide can support a more disciplined investigation.
Key Takeaway
Enumeration is not a scavenger hunt for vulnerable version numbers. It is the process of reducing uncertainty until one test becomes more defensible than the alternatives.
Research Vulnerabilities Without Copying a Walkthrough
Searching for a discovered version is reasonable. Copying the first public sequence word for word is not analysis, and it can produce false confidence when the target conditions differ.
Use a candidate vulnerability checklist
- Does the observed software version fall within the affected range?
- Is the relevant feature or module present?
- Does the operating system and architecture match known conditions?
- Is authentication required?
- Does exploitation require a configuration that has not been confirmed?
- What impact is claimed, and what evidence would validate it safely?
- Is there a less disruptive way to test the hypothesis?
This checklist protects you from the seductive little trap of “version appears old, therefore vulnerability confirmed.” Old software is a clue. The finding still needs evidence.
Compare more than one possible path
Create a compact decision table before validation. It shows that you considered alternatives rather than following a memorized railway track.
| Candidate path | Evidence quality | Potential impact | Operational risk | Decision |
|---|---|---|---|---|
| Legacy web component | Strong version and behavior clues | High | Moderate | Validate carefully |
| File-sharing weakness | Protocol exposed, access uncertain | Medium to high | Low to moderate | Enumerate further |
| Credential guessing | No supporting evidence | Variable | Higher noise | Do not prioritize |
| Local privilege issue | Requires initial access first | High | Moderate | Revisit after foothold |
Manual validation or an exploitation framework?
Neither choice automatically makes a project better. A framework can provide repeatable modules and structured options. Manual validation can expose more of the protocol, request, or failure condition. The strongest portfolio explains why a method was chosen and what its limitations were.
| Approach | Useful when | Portfolio value | Common mistake |
|---|---|---|---|
| Manual research and validation | You want to understand the underlying condition | Shows protocol and troubleshooting knowledge | Copying unreviewed code from an unknown source |
| Framework-assisted validation | A reputable module matches confirmed conditions | Shows controlled configuration and result interpretation | Pressing run without checking target options or impact |
| Both, compared | You can safely validate the same finding in two ways | Shows method comparison and restraint | Adding complexity that contributes no new evidence |
Show me the nerdy details
A vulnerability claim becomes stronger when several evidence layers agree: service discovery, banner or response characteristics, configuration clues, affected-version research, and controlled impact validation.
Confidence should rise as independent evidence accumulates. A scanner match alone might justify “possible.” Correlated version and configuration evidence might justify “likely.” Reproducible controlled impact can justify “confirmed.”
This confidence model is useful in interviews because it shows that you understand the difference between detection and verification.
Tell the Attack Story Without Publishing a Recipe
A public portfolio can show technical competence without becoming a copy-and-paste attack guide. Describe the chain at a level that explains decisions, evidence, and impact while omitting reusable credentials, weaponized code, and unnecessarily precise exploitation instructions.
Use a defensible level of technical detail
- Name the exposed service or component category.
- Explain why the discovered condition was considered vulnerable.
- Describe the controlled validation method without reproducing a full recipe.
- Show sanitized evidence that initial access occurred.
- Explain the privilege boundary that was crossed.
- State the practical impact in plain English.
For example, you might explain that an outdated network-facing component allowed controlled execution in the lab, after which local enumeration identified a separate privilege-escalation condition. That tells the story without dropping every keystroke into the reader’s lap.
Real-world example: the candidate who documented the wrong victory
A career changer completed Kioptrix over a weekend and built a README containing thirty terminal screenshots. The final image showed administrative access, followed by a triumphant sentence: “Rooted the box.”
During a mock interview, the reviewer asked which finding created the first foothold, what evidence ruled out two other paths, and which fix should be applied first. The candidate could remember the commands but not the reasoning.
They rebuilt the project around five decisions: scope, service priority, vulnerability validation, privilege boundary, and remediation. The screenshot count fell from thirty to nine. The explanation became much stronger.
The lesson was wonderfully unglamorous: fewer artifacts, better captions, clearer thinking. The final shell had not changed. The candidate’s ability to discuss it had.
Translate technical access into business impact
“Remote code execution” may be accurate, but many recruiters and managers also need to know what that means. In a real environment, administrative access could allow an attacker to read or alter data, install persistent software, modify services, capture credentials, disrupt availability, or use the machine as a stepping stone.
State those outcomes as possibilities supported by the access level, not as actions you necessarily performed. Proof of control does not require emptying every cupboard.
Key Takeaway
The public version should prove that you understood the attack chain. It does not need to preserve every operational detail that made the chain executable.
Collect Evidence a Hiring Manager Can Trust
Screenshots are not self-explanatory trophies. They are evidence exhibits. Each one should support a claim, show enough context to be credible, and exclude information that does not belong in public.
Give every image a reason to exist
A strong caption answers three questions: What is shown? Why does it matter? Which finding or decision does it support?
Weak caption: “Nmap results.”
Stronger caption: “Initial service enumeration identified web and file-sharing services on the isolated target, establishing the investigation priorities documented in the service inventory.”
Capture the minimum convincing evidence
- Target identification within the expected lab subnet.
- Service inventory with relevant version or behavior clues.
- Evidence supporting the vulnerability match.
- Sanitized confirmation of controlled initial access.
- Evidence showing the privilege boundary before escalation.
- Sanitized confirmation of administrative control.
- Evidence supporting the proposed remediation or retest method.
You may have much more raw output. Preserve it privately, but do not make the reader excavate a digital attic to find the important pieces.
Use a redaction checklist before publishing
| Check | Why |
|---|---|
| Passwords and reusable credentials are removed | Prevents accidental credential exposure |
| Hashes and tokens are masked unless essential | Reduces unnecessary sensitive-looking data |
| Personal usernames and host paths are cropped | Protects privacy and improves presentation |
| Unrelated IP addresses are removed | Keeps the scope clear |
| Tool output is readable at normal zoom | Prevents decorative but useless screenshots |
| Each image has a caption | Connects evidence to the report claim |
| Raw exploit code is not embedded | Avoids turning the portfolio into a deployment guide |
For a more detailed workflow, review the site’s screenshot organization guide and Kioptrix documentation guide.
Turn the Compromise Into a Professional Security Report
The report is where the project becomes useful to someone other than you. It should allow a technical reader to understand the evidence and a nontechnical reader to understand the risk and next action.
Use a report structure that mirrors professional work
- Cover and document control: Project name, date, version, author, and distribution note.
- Executive summary: What was assessed, what was found, and why it matters.
- Scope and limitations: Authorized target, testing boundaries, and constraints.
- Methodology: Discovery, enumeration, validation, evidence handling, and reporting.
- Attack-path summary: A short timeline from exposed service to administrative control.
- Detailed findings: Evidence, impact, confidence, severity, and remediation.
- Retest plan: How each corrective action would be verified.
- Appendix: Selected sanitized output and tool information.
Build a findings table before writing long paragraphs
| Finding | Evidence | Impact | Confidence | Priority | Recommended action |
|---|---|---|---|---|---|
| Unsupported exposed service | Confirmed version and network exposure | May permit unauthorized access or execution | High | Critical or high | Upgrade, replace, restrict access, and retest |
| Weak service configuration | Observed behavior and access conditions | May expose information or expand attack options | Medium to high | Medium | Harden configuration and reduce exposure |
| Local privilege weakness | Controlled privilege-boundary validation | Allows a low-privileged user to gain administrative control | High | High | Patch the affected component and review local permissions |
Severity scores can help, but they should not replace explanation. In a beginner portfolio, a clearly justified qualitative rating is better than a precise-looking number you cannot defend.
Recommend fixes in the order an organization could use them
- Immediate containment: Restrict or disable the exposed service if operationally possible.
- Primary correction: Upgrade, replace, or reconfigure the vulnerable component.
- Exposure reduction: Limit network access to approved systems and users.
- Credential action: Rotate credentials if compromise could have exposed them.
- Monitoring: Review logs and add detection for suspicious service use.
- Retesting: Confirm the vulnerable condition no longer works and the service remains functional.
“Patch everything” is not a remediation plan. State what should change, why it reduces the risk, and how you would verify the result.
Key Takeaway
A hiring manager should be able to read one finding and trace a clean line from observation to validation, impact, recommendation, and retest.
Free templates, paid tools, or professional review?
A polished report does not require expensive software. A document editor, spreadsheet, diagram tool, and version-controlled repository are enough for most entry-level projects. Paid reporting platforms become relevant when you manage many assessments, collaborate with a team, or need reusable client workflows.
| Option | Best for | What to compare | Possible drawback |
|---|---|---|---|
| Free document template | First portfolio report | Export quality, tables, heading control, redaction workflow | More manual formatting |
| Paid reporting software | Repeated assessments or team use | Finding library, collaboration, evidence handling, export formats | Cost and unnecessary complexity |
| Mentor or professional review | Candidates preparing for interviews | Reviewer experience, confidentiality, actionable feedback | Quality varies widely |
Before paying for a tool or review service, ask whether it will improve the report’s reasoning, consistency, or readability. A glossy cover cannot rescue unsupported findings.
Make One Old VM Prove Modern Job Skills
Kioptrix contains intentionally old software. That does not make the learning obsolete. The transferable skill is how you move from exposure to evidence, and from evidence to a decision someone else can act on.
Adapt the same project for different entry-level roles
| Target role | What to emphasize | What to add |
|---|---|---|
| Junior penetration tester | Enumeration logic, validation, attack chain, remediation | Detailed findings and retest plan |
| SOC analyst | Observable activity, logging opportunities, detection ideas | Small detection and incident-triage appendix |
| Security intern | Safe lab setup, organized notes, communication, lessons learned | One-page project brief and clear README |
| Vulnerability analyst | Version research, false-positive control, severity reasoning | Confidence labels and prioritization table |
| Career changer | Transferable troubleshooting and documentation habits | Reflection connecting previous work experience to security tasks |
Add framework mapping only where it clarifies behavior
A short MITRE ATT&CK mapping can demonstrate familiarity with defensive terminology, especially for SOC applications. Keep it restrained. Map only behaviors you actually observed or validated, and explain the connection in one sentence.
Do not decorate every screenshot with a technique identifier. Framework mapping should clarify the attack path, not turn the report into alphabet soup.
Write a README for a recruiter, not only another lab student
- Project objective: One paragraph explaining what you assessed and why.
- Safety statement: Confirmation that the work occurred in an isolated authorized lab.
- Skills demonstrated: Five to eight concrete capabilities.
- Method summary: Scope, discovery, enumeration, validation, evidence, reporting.
- Key findings: Sanitized summaries without executable instructions.
- Artifacts: Network diagram, attack-flow diagram, report, and selected evidence.
- Lessons learned: What failed, what changed, and what you would improve.
The cybersecurity internship portfolio guide, Kioptrix resume guide, and behavioral interview examples can help you reuse the finished project across applications.
Avoid the mistakes that quietly weaken the project
- Submitting a chronological command diary with no decision-making.
- Calling every automated result a confirmed vulnerability.
- Copying a walkthrough’s wording, screenshots, or exact sequence.
- Ending the project immediately after administrative access.
- Publishing credentials, tokens, hashes, or raw exploit material.
- Using thirty screenshots when eight would tell the story better.
- Hiding failed hypotheses that would demonstrate troubleshooting.
- Offering generic fixes with no connection to the finding.
- Using severity scores that you cannot explain.
- Failing to state that the assessment occurred in an isolated lab.
Key Takeaway
A legacy target can still prove current habits: permission awareness, evidence discipline, careful validation, clear risk communication, and honest handling of uncertainty.
FAQ: Building a Kioptrix Cybersecurity Portfolio
Is Kioptrix still useful for an entry-level cybersecurity portfolio?
Yes, provided the project emphasizes transferable skills rather than presenting the machine as a model of a current production environment. Scope control, service enumeration, vulnerability validation, evidence handling, remediation, and reporting remain relevant.
Which Kioptrix machine should a beginner start with?
Start with a level that matches your networking and Linux comfort. Many beginners choose an early machine because the attack surface is easier to inventory. The more important decision is whether you can complete the full report without depending on a walkthrough.
Can I publish a Kioptrix walkthrough on GitHub?
You can publish a sanitized educational write-up, subject to the platform’s rules and the lab creator’s expectations. Avoid reusable credentials, weaponized code, unnecessary exploit detail, and copied material. Lead with methodology, findings, impact, and remediation.
Should I include every command used during the assessment?
No. Preserve complete notes privately, then select the commands or outputs that support an important decision or finding. A portfolio is edited evidence, not an unfiltered terminal transcript.
How many screenshots should the final report contain?
There is no universal number. Use enough to support the major claims without forcing the reader through repeated or unreadable output. A compact beginner report often needs fewer screenshots than expected when captions and findings tables are strong.
Should I explain failed exploitation attempts?
Include selected failed hypotheses when they demonstrate useful troubleshooting. Explain what you expected, what happened, what evidence changed your mind, and how you adjusted. Do not turn the report into a catalog of every typo.
Do I need CVSS scores in a beginner portfolio project?
No. CVSS can be useful when you understand the metrics and can justify the selected values. A clear impact statement, confidence rating, and remediation priority are more credible than a score copied from a database without considering the lab conditions.
Can a Kioptrix project help with SOC analyst applications?
Yes. Add a defensive appendix describing likely log sources, observable network activity, possible alert logic, containment steps, and questions an analyst would ask during triage. This reframes offensive activity as detection and response practice.
Create Your One-Page Project Brief in 15 Minutes
The easiest way to prevent another half-finished lab is to define the finished object before launching the virtual machines. Open a document and complete the following brief today.
Kioptrix Portfolio Project Brief
Objective: Assess one isolated Kioptrix VM and produce a sanitized professional report.
Scope: One target VM, one testing VM, one private virtual subnet.
Evidence: Target verification, service inventory, validation evidence, privilege boundary, administrative proof, and remediation support.
Deliverables: README, network diagram, attack-flow diagram, findings table, full report, and redacted public copy.
Definition of done: A recruiter can understand what you tested, how you reasoned, what mattered, and what should be fixed.
Then create five folders: notes, scans, evidence, report, and sanitized-public. Add the scope sentence to the notes folder and take one screenshot of the isolated network settings. That small act closes the distance between “I should build a portfolio” and “the project has begun.”
Finish one complete assessment before collecting more vulnerable machines. Root access is a moment. A well-reasoned, redacted, employer-ready report is the asset you can carry into applications, interviews, and the next lab.
Last reviewed: 2026-08