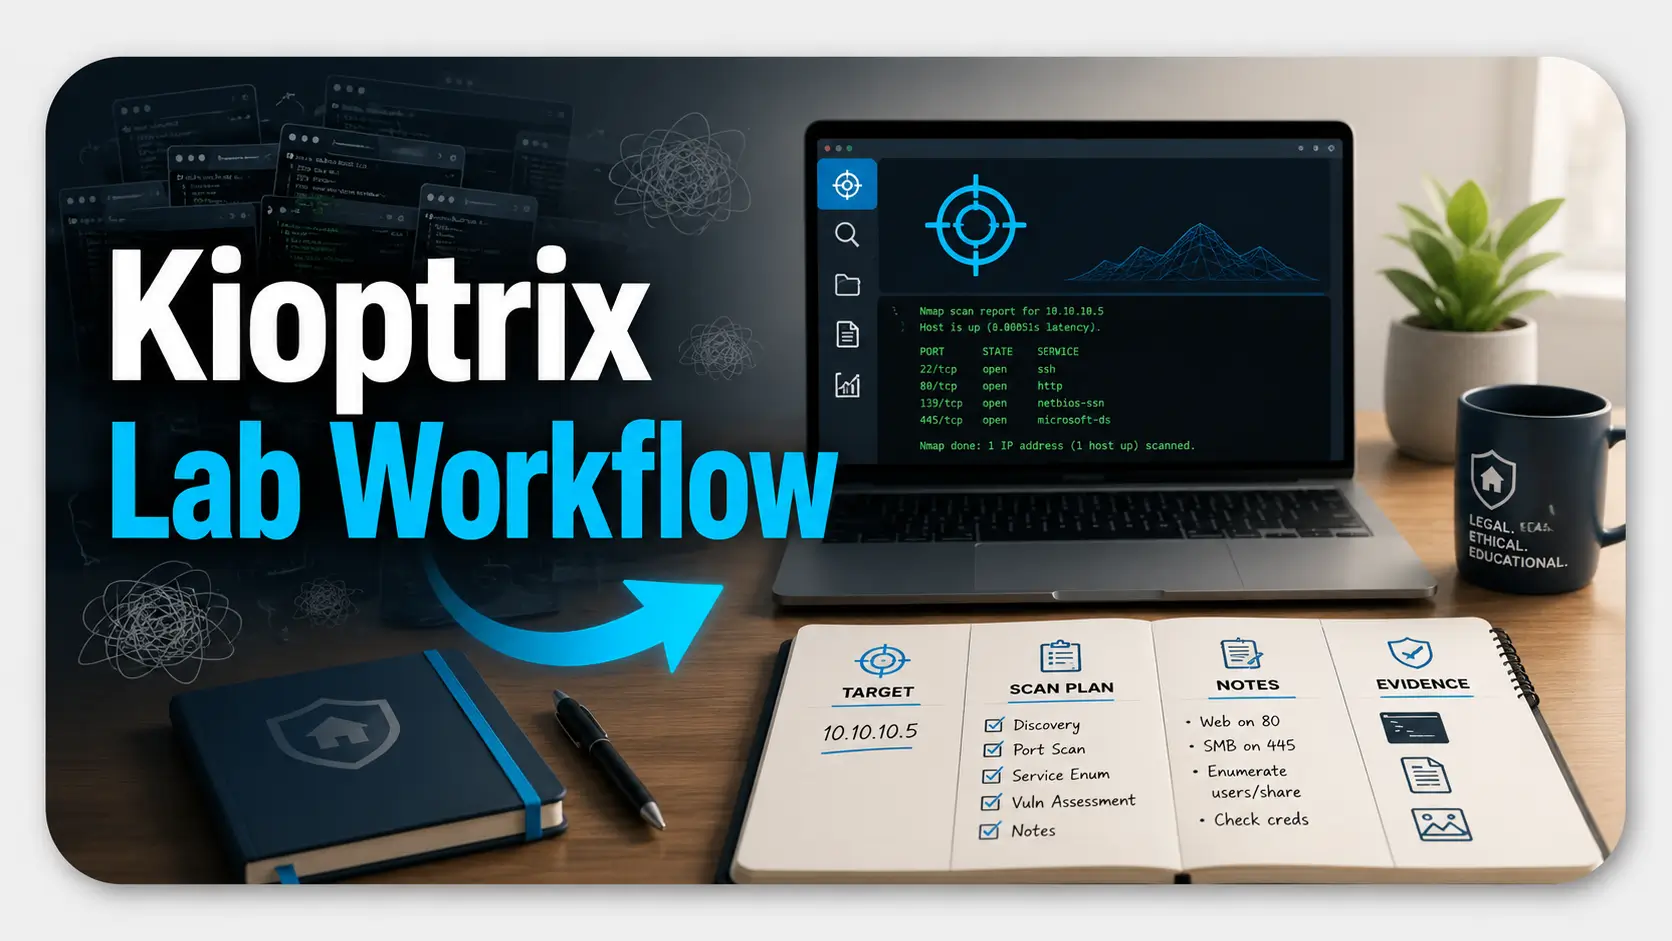
Open the practical working record for this guide’s task-specific fields and next action.
Park a lead with a reason to return
Keep one current question and a short queue containing the evidence that made each other lead relevant. Before changing tools, state the missing capability or observation. A second tool can share the same assumptions as the first; agreement is not automatically independent confirmation. Reference and scope.
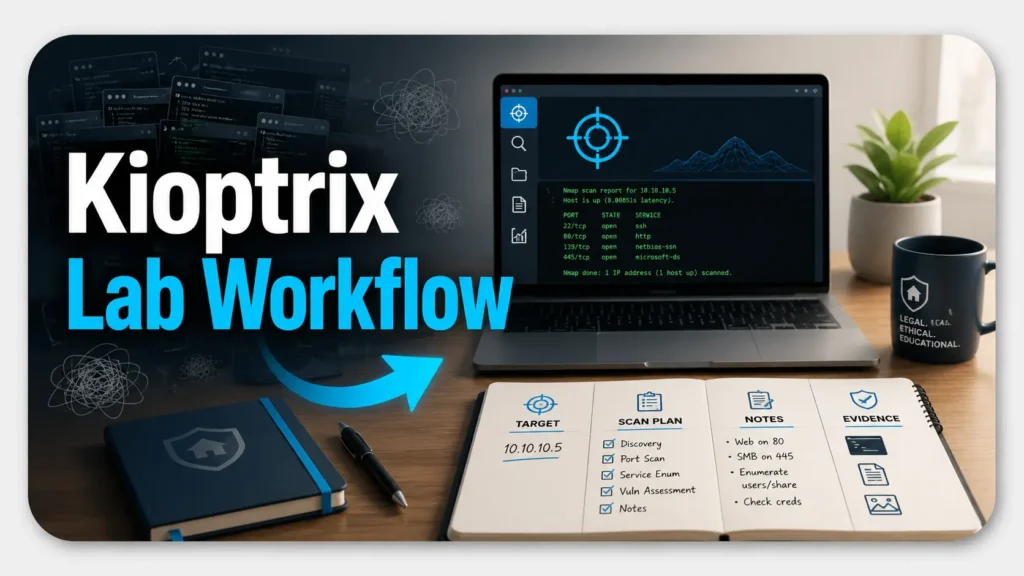
From Chaotic Terminals to Clear Methodologies: Master the Kioptrix Lab Workflow
Organize the active question, evidence and parked leads without treating tab counts as a skill score.
The cost of guessing is not just wasted time. It is fuzzy memory, messy notes, copied commands you cannot explain, and write-ups that read like a magician pulled root from a hat. This guide gives you a safer, cleaner way to work: one target IP, one scan plan, one notes file, and one evidence trail. Small table. Clean hands.
Kioptrix Level is a beginner-friendly cybersecurity practice machine series used in authorized home labs to learn enumeration, evidence-based testing, privilege escalation thinking, and technical documentation. The goal is not to attack real systems. The goal is to build repeatable reasoning inside a legal sandbox.
- ✓ Build a one-screen lab workflow before tool-hopping begins.
- ✓ Turn scans into evidence instead of noise.
- ✓ Write a walkthrough that explains decisions, not just commands.
- ✓ Keep every activity inside systems you own or have explicit permission to test.
The Calm Lab Promise
A good Kioptrix session should feel less like chasing sparks across the internet and more like labeling jars in a careful workshop. You still get surprise, failure, and the small thrill of discovery. You simply stop letting every tool become the boss of you.
Use this article as a practical workflow map for legal practice machines, beginner-friendly lab discipline, and cleaner technical notes.
Table of Contents
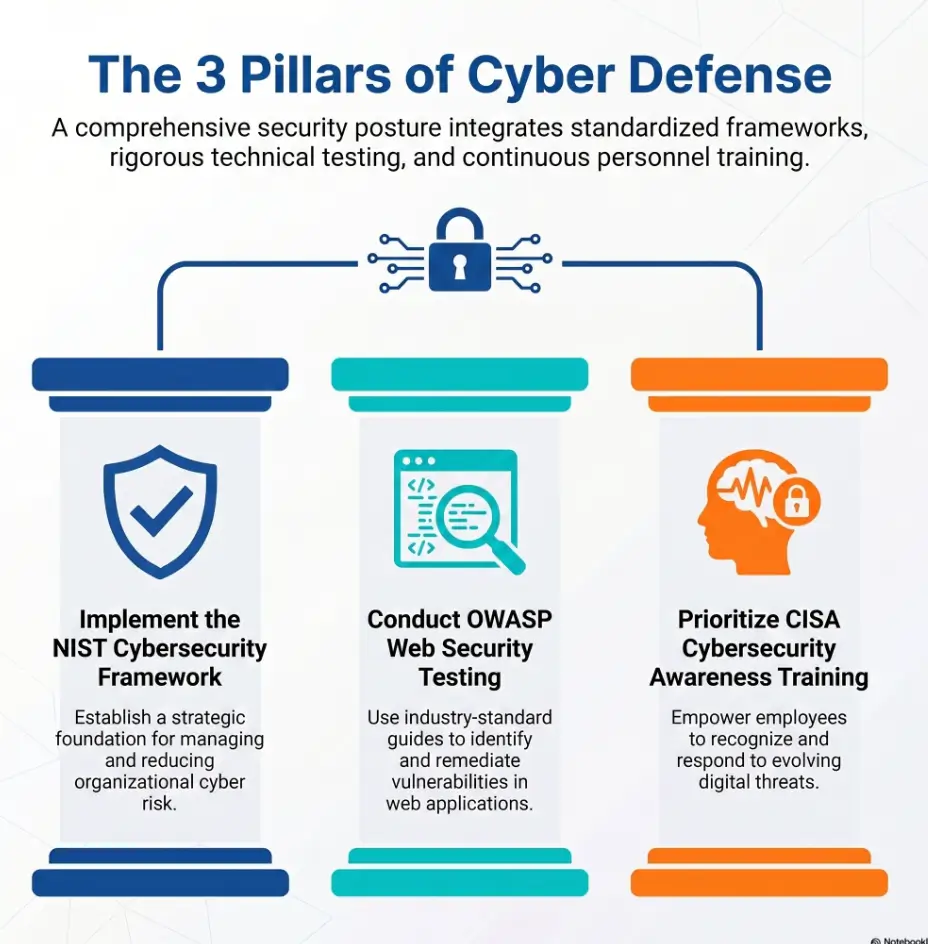
Safety and Ethics: Keep the Playground Legal and Boring
Kioptrix-style practice belongs in a lab you own, control, or have explicit permission to test. That means a local virtual machine, an isolated network, and a target designed for learning. It does not mean scanning random public IP addresses because your coffee got ambitious.
Cybersecurity training works best when the boundary is boring. Boring is good. Boring is how you avoid legal problems, damaged systems, angry emails, and the particular kind of regret that arrives wearing a company letterhead.
Use only machines you are authorized to attack
Authorization is not a vibe. It is permission. In a home lab, that usually means you downloaded a deliberately vulnerable VM, imported it into your hypervisor, and connected it to a lab-only network. If you are practicing on a training platform, follow the platform rules.
For a learner-friendly starting path, bookmark a clean setup guide such as your first Kioptrix lab workflow before you start opening tools. The setup is not glamorous, but it is the floor under the whole house.
Separate your lab network from everyday devices
A vulnerable VM is supposed to be vulnerable. That is the point. Keep it away from family laptops, work machines, smart TVs, backup drives, and anything that would make your stomach sink if it got touched by accident.
A simple host-only or isolated virtual network is usually enough for beginner practice. If you are choosing between NAT, bridged, and host-only networking, a guide to VirtualBox NAT, host-only, and bridged modes can prevent one of the most common early lab mistakes.
Here’s what no one tells you: boring setup prevents dramatic regret
Most lab disasters are not cinematic. They are small, avoidable things: the wrong network adapter, a scan aimed at the wrong subnet, a copied command run outside the lab, or a screenshot folder so chaotic it looks like a drawer full of charger cables.
- Use only authorized lab machines.
- Keep vulnerable VMs away from everyday devices.
- Write the target IP at the top of your notes before running tools.
Apply in 60 seconds: Create a notes file titled with today’s date, the VM name, and the target IP field left blank until verified.
Start Here: Why Kioptrix Feels Messy Before It Feels Useful
Kioptrix feels messy because beginners often treat each new clue as a separate emergency. Port 80 opens, so they search web enumeration. Port 139 appears, so they open three SMB tabs. A service version shows up, so they jump to exploit databases. Suddenly the lab is no longer a lesson. It is browser soup.
The real skill is not memorizing every tool. The real skill is deciding what evidence you have, what you can verify, and what deserves the next 15 minutes.
The real beginner problem is not “too few tools”
Most learners already have more tools than they can interpret. Kali Linux alone can feel like a hardware store after midnight: useful, slightly dangerous, and full of things with sharp edges.
Beginner progress usually improves when you use fewer tools more deliberately. A basic scan, a service check, a browser, a note file, and a small set of references can carry a lot of learning weight.
Why tabs multiply when your process is missing
Tabs multiply when your brain wants certainty before doing the next small step. That is human. Cyber labs create uncertainty on purpose. The antidote is not more tabs. It is a tiny decision loop.
Ask four questions:
- What do I know?
- How do I know it?
- What would confirm or weaken this idea?
- What is the smallest safe test?
The one-screen mindset: target, notes, terminal, browser
For beginners, one screen can become a quiet teacher. Keep the target IP visible. Keep notes open. Keep one terminal active. Use the browser for one reference at a time. This turns your workspace into a cockpit instead of a flea market.
If you want a deeper routine for keeping sessions tidy, pair this article with a practical Kioptrix session routine. A routine is not a cage. It is a rail on a dark staircase.
Decision Card: More Tools vs. Better Notes
| When you feel stuck | Do this first | Trade-off |
|---|---|---|
| You have scan output but no plan | Summarize the open services in plain English | Slower now, faster later |
| You found a possible weakness | List the evidence and missing conditions | Less drama, fewer rabbit holes |
| You opened five similar tabs | Close four and write one testable question | Less novelty, more learning |
Neutral action: Before installing or launching another tool, write one sentence explaining what it will verify.
Who This Is For, And Who Should Skip It For Now
This guide is for learners who want structure. Maybe you know basic Linux commands. Maybe you can move through directories, read files, run a scan, and search documentation. But when a lab opens several possible paths, your process starts wobbling like a café table with one short leg.
Good. That is fixable.
Good fit: learners who know basic Linux but need structure
You do not need to be a professional penetration tester to benefit from Kioptrix. You do need enough comfort to use a terminal, read error messages, copy relevant output into notes, and avoid treating every red word as a catastrophe.
A learner who is still building Linux confidence may want to review a Kali setup checklist for Kioptrix practice before starting a serious session.
Not ideal yet: anyone looking for copy-paste exploitation
If your goal is only to paste commands until a shell appears, Kioptrix can teach you bad habits quickly. Copy-paste solving feels productive because the screen moves. But movement is not the same as understanding.
The better question is: could you explain why a command matched the target conditions? If not, pause. Read. Shrink the problem.
Best mindset: slow enough to learn, curious enough to test
For learners who want a broader path, a structured Kioptrix learning path can help connect individual levels to long-term skill growth.
The Four-Box Kioptrix Workflow That Stops Tool-Hopping
When the lab gets noisy, draw four boxes in your notes. Not fancy. Not productivity theater with digital stickers and a sunset cover image. Four plain boxes.
This framework keeps your attention on evidence, verification, change, and next action.
Target IP, open ports, service names, visible pages, version clues.
Manual checks, documentation, service behavior, repeated output.
New pages, errors, credentials, permissions, shells, blocked paths.
One safe test with a reason, expected result, and stop condition.
Box 1: What do I know?
This box is for facts, not hopes. “Port 80 is open” belongs here. “This must be exploitable” does not. A banner is a clue. A page title is a clue. A directory result is a clue. Keep them separate from conclusions.
Many beginners blur facts and guesses because the lab feels urgent. A simple evidence log solves that. The page on building a Kioptrix recon log template is a useful companion if your notes currently look like a thunderstorm learned Markdown.
Box 2: What can I verify?
Verification means checking whether a clue behaves the way you think it does. If a service version appears, compare it against service behavior. If a page looks old, inspect headers, links, forms, and source. If a share appears, check access carefully instead of assuming treasure is inside.
Box 3: What changed after each command?
A command that changes nothing still teaches something. It may eliminate a guess. It may show permission limits. It may reveal that your syntax, network route, or tool choice is wrong.
When you write “no useful result,” add why. “No anonymous SMB shares listed” is better than “SMB failed.” One is evidence. The other is fog.
Box 4: What would I try next, and why?
The next action should be small enough to understand. “Enumerate web directories because port 80 is open and the homepage is sparse” is a clear next step. “Try all the tools” is your browser quietly stealing the steering wheel.
- Facts stay separate from guesses.
- Every test needs a reason.
- Failed paths become evidence instead of embarrassment.
Apply in 60 seconds: Add four headings to your notes before launching any scanner.
First Scan, First Calm: Build a Map Before Touching Exploits
The first scan is not a slot machine. It is a map. You are trying to learn what the target presents to the lab network, not prove that you are clever in the first five minutes.
For beginner practice, keep your scan plan simple and authorized. Identify the target. Confirm the IP. Scan the target, not the neighborhood. Then read the results like a detective with clean shoes.
Identify the target without spraying the whole network
In a private lab, you may need to find which IP belongs to the Kioptrix VM. Do this carefully inside the lab range only. Write the range in your notes. Write how you found the target. If you are unsure, stop and verify your virtual network settings.
If target discovery keeps failing, troubleshooting a Kioptrix host-only network with no IP can save an entire evening from becoming a small opera of frustration.
Read open ports like clues, not trophies
Open ports are not trophies. They are doors with labels, and some labels are old, misleading, or printed by a machine that has not had a good decade.
A typical beginner flow is:
- Confirm the target IP.
- Identify open TCP ports.
- Run service detection in a controlled way.
- Record service names, versions, and unusual output.
- Choose one service to investigate manually.
When you see HTTP, visit the site. When you see SMB, slow down and check access. When you see database ports, ask whether they are reachable, restricted, or only noise. A guide to understanding Kioptrix open ports can help you keep the signal separate from the sparkle.
Don’t do this: running every scanner because anxiety asked nicely
Automated scanners can help in a lab, but they should not replace your eyes. If your first instinct is to launch every scanner you know, you may be outsourcing your curiosity too early.
Use scanners to support a question. For example: “What HTTP directories are exposed?” is a question. “Please make the lab less mysterious” is a prayer disguised as a command.
Show me the nerdy details
Scanning quality depends on scope, timing, service detection, and interpretation. A fast port scan may show reachable services, but it does not prove vulnerability. Service detection can mislabel software, especially in older practice labs, custom configurations, or banners that do not reflect the actual application. Treat scan output as an evidence source, then verify with manual checks such as connecting to the service, reviewing headers, inspecting web content, or comparing behavior against documentation. The best beginner habit is to record the command, the exact target, the time, the key output, and the next question created by that output.
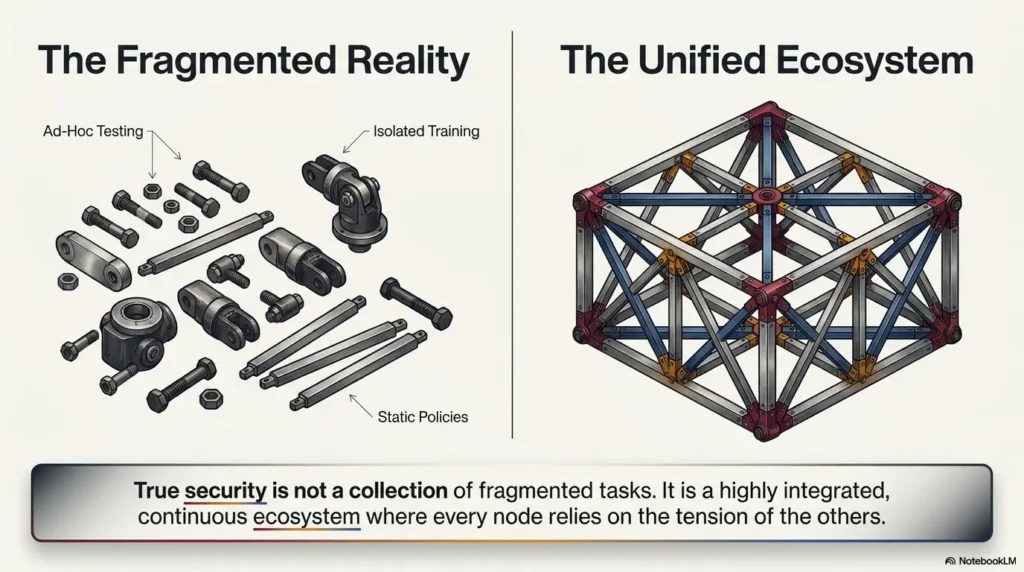
Service Enumeration: Where Beginners Usually Find the Door
Enumeration is where Kioptrix starts to reward patience. You are not breaking anything yet. You are learning how the machine introduces itself, what it forgets to hide, and which clues deserve attention.
The rhythm is simple: observe, verify, narrow, document. Repeat until the target stops feeling like a wall and starts feeling like a floor plan.
Web services: pages, source code, directories, and versions
If a web service is open, start with the visible application. Click like a careful user. Read page titles. Check forms. View source. Review response headers. Look for old technologies, default pages, exposed directories, odd parameters, and error messages that speak too loudly.
For web enumeration practice, you may find a focused Kioptrix HTTP enumeration routine more useful than opening ten generic web hacking tabs.
SMB and legacy services: slow down before assuming weakness
SMB can tempt beginners into assumptions. A port appears, a version looks old, and suddenly the learner is halfway through a forum post from 2011 wearing the facial expression of a raccoon in a pantry.
Slow down. Check what access is actually allowed. Can you list shares? Are anonymous sessions permitted? Does a tool report one thing while manual testing reports another? If SMB errors are confusing, pages such as listing SMB shares without access and understanding SMB null sessions on ports 139 and 445 can keep your interpretation grounded.
Version numbers are hints, not verdicts
A version number can point toward research, but it is not proof by itself. Tools can misread banners. Services can be patched without changing a banner. Labs can intentionally preserve old-looking behavior to teach a concept.
When you find a version clue, write three things:
- Where the version came from.
- What weakness it might suggest.
- What condition must be true before testing further.
Coverage Tier Map: Beginner Enumeration Depth
| Tier | What you cover | Good stopping point |
|---|---|---|
| Tier 1 | Open ports and basic service names | You know what is reachable |
| Tier 2 | Versions, banners, web pages, obvious shares | You have service-specific leads |
| Tier 3 | Manual validation and content review | You can explain what matters |
| Tier 4 | Weakness research tied to exact evidence | You know test conditions |
| Tier 5 | Careful exploit decision or alternate path | You have a reason to proceed or pause |
Neutral action: Mark your current enumeration tier before moving into exploit research.
The Notes System: Your Future Write-Up Starts on Minute One
Good notes are not decoration. They are memory insurance. They preserve your reasoning while the lab is still warm.
If you have ever solved part of a lab and then forgotten how you got there, you already know the feeling. It is like finding a key in your pocket with no idea which door it loves.
Capture commands, outputs, screenshots, and failed paths
Every useful note should answer what, why, and result. What did you run? Why did you run it? What happened? A screenshot without context is a postcard from a place you may not remember visiting.
A simple structure works:
- Time: 14:10
- Question: What web paths are exposed?
- Action: Directory check against target web service.
- Result: Found two interesting paths, one forbidden path, one false lead.
- Next: Manually inspect the interesting paths.
For note-taking tool choice, a Kioptrix note-taking tool comparison can help you avoid spending more time choosing a notebook than using one.
Use timestamps so your story has a spine
Timestamps turn scattered notes into a timeline. They help you see when a finding happened, what came before it, and which later decision depended on it.
This is especially useful when you write a walkthrough. Instead of “then I somehow found,” you can say, “After confirming the service behavior, I tested one directory path and found a clue.” That sentence has shoes on.
Let’s be honest: “I’ll remember this” is how write-ups go to die
No, you will not remember it. Not because you lack talent. Because labs create too many tiny details. The exact error. The option that worked. The screenshot name. The reason you abandoned a path. These vanish quickly.
Common Mistakes That Turn Kioptrix Into Browser Soup
Beginner mistakes are not moral failures. They are usually attention failures. Kioptrix is good at exposing them because every service looks like it might be the door.
Mistake 1: Searching spoilers before forming a hypothesis
Walkthroughs are useful after you have struggled productively. They are not ideal as the first move. If you read a spoiler before forming your own hypothesis, you may complete the lab while skipping the lesson.
A better rule: spend a fixed amount of time gathering evidence, then write your best theory. Only then compare with a hint or walkthrough if needed.
Mistake 2: Copying exploits without reading the conditions
Exploit code is not seasoning. You do not sprinkle it on a target and hope dinner happens. Before testing anything, understand the required version, configuration, service state, and expected behavior.
If you are deciding between Metasploit and a more manual approach, a Kioptrix Metasploit vs. manual testing comparison can help you choose based on learning value rather than speed alone.
Mistake 3: Ignoring failed commands instead of learning from them
Failed commands often point to the next good question. Permission denied, connection refused, no route, empty share list, and strange tool errors all mean something. Sometimes the meaning is simply, “Check your syntax, brave little keyboard dragon.”
Mistake 4: Opening ten tabs when one man page would do
Search engines are useful, but they can turn a small uncertainty into a research maze. Before opening another tab, check tool help, manual pages, or your own previous notes. Local clarity beats global noise.
Eligibility Checklist: Are You Ready to Use a Walkthrough?
- Yes/No: Have you identified the target IP and open services yourself?
- Yes/No: Have you manually inspected at least one likely service?
- Yes/No: Have you written one hypothesis and one reason?
- Yes/No: Have you documented at least one failed path?
- Yes/No: Can you name what you want the walkthrough to clarify?
Neutral action: If you answered “No” to two or more items, spend 20 more minutes on evidence before reading a walkthrough.
The Exploit Decision: When to Test, When to Pause
The exploit decision is where many beginners get impatient. Enumeration feels like walking. Exploitation feels like fireworks. But fireworks in the wrong room are just property damage with sparkles.
In a legal lab, the safer learning move is to treat exploitation as a decision based on evidence. What weakness do you think exists? What conditions make that weakness testable? What is the smallest test that stays within the lab?
Match exploit conditions to your actual evidence
Before testing an exploit in Kioptrix, write the conditions. For example:
- The service is reachable from my lab machine.
- The version or behavior matches the weakness description.
- The exploit path applies to this configuration.
- I understand what the test attempts to do.
- I am testing only the authorized target.
If a condition is missing, pause. Research the condition, not the exploit. This habit matters far beyond Kioptrix.
Prefer understanding the weakness over racing to root
Getting root feels good. Understanding why the path worked is what stays with you. The difference is the same as memorizing a song on one piano versus learning enough music to play when the room changes.
If your goal is learning, keep a short explanation of each weakness in your own words. No grand essay. Three sentences can be enough.
Don’t do this: treating exploit databases like vending machines
Exploit databases are references, not vending machines. If you push buttons without reading, the machine may still drop something, but you will not know whether it was candy, a clue, or a bowling ball.
When a public exploit looks relevant, record the title, affected software, required conditions, and why it does or does not match your evidence. That is how your brain learns to filter.
Privilege Escalation Without Panic-Clicking Every Checklist
Privilege escalation can make beginners panic-click checklists. Kernel? Users? SUID? Writable paths? Cron? Credentials? It is easy to sprint through a list and understand almost none of it.
A checklist is useful only when paired with interpretation. Otherwise it becomes a grocery list written during an earthquake.
Check kernel, services, permissions, users, and writable paths
In a lab, privilege escalation usually begins with basic system awareness. What user are you? What system is this? What permissions do you have? What files can you read or write? What services are running? What scheduled tasks or unusual binaries exist?
For Kioptrix-specific practice, a Level 1 privilege escalation checklist can be useful when you use it slowly and annotate why each item matters.
Separate “interesting” from “actionable”
Not every odd file is a path forward. Not every old kernel is a good test. Not every permission looks dangerous in context. Beginners often collect interesting details but struggle to rank them.
Use three labels:
- Interesting: Worth noting, but no clear action yet.
- Actionable: Has a safe test and a reason.
- Blocked: Needs more evidence or access.
This turns the privilege escalation phase from a junk drawer into a small workbench.
The quiet clue: permissions often speak softer than banners
Banners announce themselves. Permissions whisper. A writable path, a careless script, a weak file permission, or a user context mismatch can matter more than a flashy version number.
Train yourself to read quiet clues. In many labs, the path forward is not the loudest item. It is the item that explains why the system trusts the wrong thing.
- Write your current user and permissions first.
- Label findings as interesting, actionable, or blocked.
- Prefer small, explainable tests.
Apply in 60 seconds: Add an “Interesting / Actionable / Blocked” table to your privilege escalation notes.
Write the Walkthrough Like a Learner, Not a Magician
A good walkthrough does not hide the stairs. It shows how you climbed them. This matters because readers do not only want the answer. They want a path they can trust.
Beginner write-ups often skip reasoning because the writer feels exposed. Wrong turns feel messy. But honest reasoning is the useful part. Nobody learns much from “I ran a tool and then root happened.” That sentence is a locked door wearing a party hat.
Explain your reasoning between commands
Every command should have a sentence before or after it. What question did it answer? What clue led you there? What result changed your plan?
For example, instead of writing only “I scanned the target,” write that the first scan was used to identify reachable services and choose a starting point for manual enumeration. The reader now understands the purpose.
Include wrong turns that taught something useful
Do not include every typo. Your reader does not need a documentary about your keyboard. But include failed paths that clarify the process: a service that looked promising but blocked anonymous access, a web path that seemed useful but led nowhere, or an exploit lead rejected because the configuration did not match.
If you want to strengthen report habits, Kioptrix report writing tips can help turn lab notes into clear reader-friendly explanations.
Turn screenshots into evidence, not decoration
A screenshot should prove a claim. If it does not prove anything, consider removing it. Good screenshots show key output, successful access, important errors, or the moment a hypothesis changed.
Give each screenshot a caption in your draft:
- What it shows.
- Why it matters.
- What you did next.
Quote-Prep List: What to Gather Before Comparing Tools or Services
If you later compare note apps, hypervisors, scanners, or training platforms, gather the same details each time so your choice stays practical.
- Your laptop operating system and available memory.
- Preferred hypervisor and network mode.
- Whether you need screenshots, Markdown export, or PDF output.
- How many hours per week you can practice.
- Whether your goal is hobby learning, career change, OSCP preparation, or safer IT work.
Neutral action: Save these details in your lab notes so future tool choices do not restart from zero.
Next Step: Run One Kioptrix Session With a 90-Minute Tab Limit
The fastest way to improve your Kioptrix practice is not a new tool. It is a smaller session with clearer limits.
Try 90 minutes. Long enough to gather evidence. Short enough to avoid the midnight fog where every command looks meaningful and your snack choices become legally questionable.
Open only four things: terminal, notes, browser, reference page
Start with four windows or tabs:
- One terminal for active work.
- One notes file for evidence.
- One browser tab for the target web service, if present.
- One reference page for documentation or tool help.
If you open another tab, write why. This is not punishment. It is attention accounting.
Stop after 90 minutes and write what you know
At the 90-minute mark, stop even if you are close. Especially if you are close. Write a short session summary:
- Target and lab scope.
- Open services found.
- Most promising lead.
- Blocked or failed paths.
- Next action for the next session.
If you struggle to summarize sessions, use a Kioptrix session summary format to keep the ending crisp.
One concrete action: create a “Kioptrix evidence log” before launching the VM
Before your next VM launch, create this tiny template:
For practice consistency, a longer habit plan such as a 30-day Kioptrix practice routine can help you turn one clean session into a repeatable learning rhythm.
FAQ
Is Kioptrix good for complete beginners?
Kioptrix can be good for beginners who already know basic Linux navigation, virtual machine setup, and simple terminal use. If those basics still feel fragile, start with setup, networking, and note-taking first. A practice machine should stretch you, not turn your evening into a haunted printer manual.
Do I need Kali Linux for Kioptrix?
You do not strictly need Kali Linux, but many learners use it because it includes common security tools. The important part is not the logo on the desktop. It is whether your system is stable, updated, isolated for lab work, and understandable to you. If Kali creates more setup problems than learning value, fix the lab foundation first.
How long should a beginner spend on one Kioptrix level?
A beginner may spend several sessions on one Kioptrix level. That is normal. A useful approach is to work in 60- to 90-minute blocks, then write a summary before stopping. Time spent understanding evidence is not wasted, even when you do not finish the machine that day.
Should I read walkthroughs while solving Kioptrix?
Use walkthroughs carefully. Try to form your own hypothesis before reading one. If you need help, look for a hint that answers your current blocker rather than reading the full solution. Afterward, compare your reasoning with the walkthrough and write what you missed.
What should I write down during a Kioptrix lab?
Write down the target IP, scope, commands, important output, screenshots, errors, guesses, failed paths, and next actions. The best notes explain why you tested something. Future-you is a lovely person, but future-you will not remember the exact reason you opened that one strange tab at 11:47 p.m.
Is it okay to use automated scanners?
Yes, inside an authorized lab, automated scanners can support learning. The key is to use them with a question. Do not let a scanner replace manual inspection. Treat scanner output as leads that need verification, especially when working with older lab machines and unusual service banners.
What is the biggest mistake beginners make with Kioptrix?
The biggest mistake is chasing tools before building a process. Beginners often jump from scan results to search results to exploit pages without documenting evidence. A better path is to slow down, verify each clue, and keep a short reason attached to every test.
How do I know when to move to a harder lab?
Move to a harder lab when you can explain your process without relying on a walkthrough, reproduce your path from notes, and describe at least one mistake you corrected. Completion matters, but repeatable reasoning matters more. If you can teach the path, you probably learned it.
Conclusion: Make the Lab Smaller So the Learning Gets Bigger
The tab storm from the beginning does not mean you are bad at Kioptrix. It means your attention needs rails. A beginner lab becomes useful when you stop treating every clue as a siren and start treating it as evidence.
Keep the boundary legal. Keep the network contained. Keep the workspace small. Use the four-box workflow. Scan calmly. Enumerate manually. Test only when your evidence supports it. Write the story while the story is happening.
Your next 15-minute step is simple: create a “Kioptrix evidence log” with four headings: what I know, what I can verify, what changed, and what I will try next. Then launch the VM only after that file exists. The quiet page comes first. The tools can wait their turn.
Last reviewed: 2026-05.
Active-question and parked-lead board
Use this record for the specific task in this guide. Copy the fields into your notes and complete them with the actual conditions, evidence and assistance used in your own work.
| Field | What to record | Your evidence / next check |
|---|---|---|
| Current question | Define the uncertainty being investigated now. | To complete |
| Needed capability | Explain the observation the current tool must provide. | To complete |
| Parked lead | Save another lead with the reason it might matter. | To complete |
| Return condition | State what would justify switching tasks. | To complete |
Next action: Close or park a tab only after preserving its useful context. Keep the original record so a later correction does not make an earlier assumption look like an established fact.
Related task: Continue with Avoid Random Tool Switching: Choose a Question First when you need that separate part of the workflow.
Worksheet change record — October 20, 2026
Added four task-specific fields, a next action and a related guide. This is an editorial working aid, not a completed lab result or a validated skill assessment. Existing source-review dates retain their own scope; this addition is not a new fact-check of every statement.